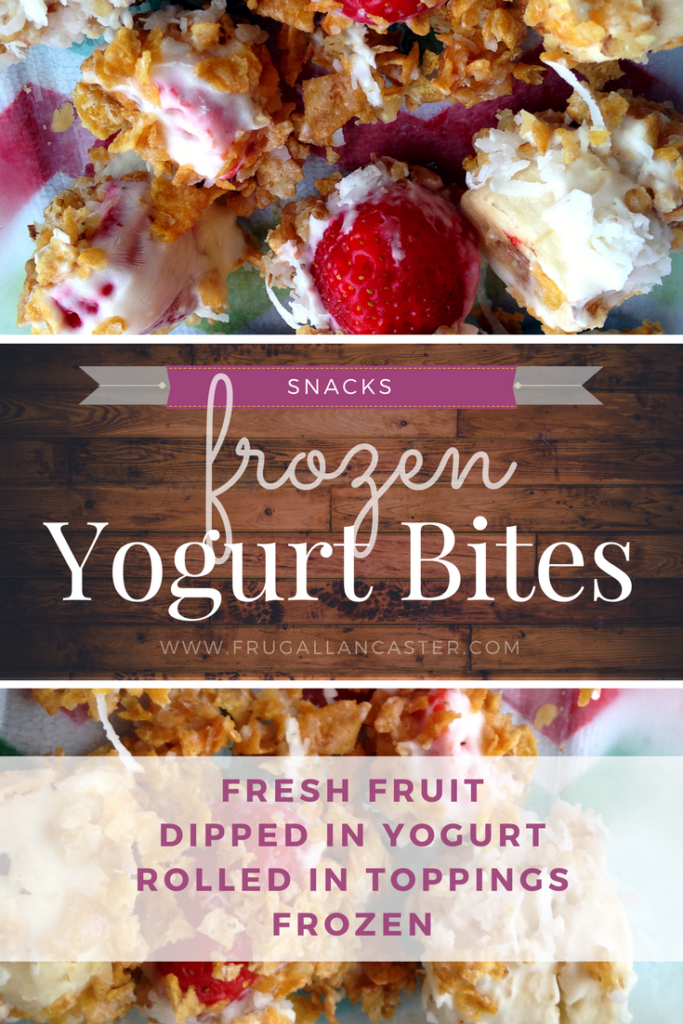
Working in the kitchen with kids has been one of the most rewarding blessings for our family. A little stressful sometimes if you’re not ready for it – I wouldn’t recommend it if you can tell you are having a bad day.
This is a great recipe for starting in the kitchen with your kids if you never have before. It is super easy and there are no raw eggs or ingredients that will stress you out!
I captured the process of making these with my kids, so you can see how it really is in real life. And yes, it probably could get messy, but just relax, and then wipe it up!
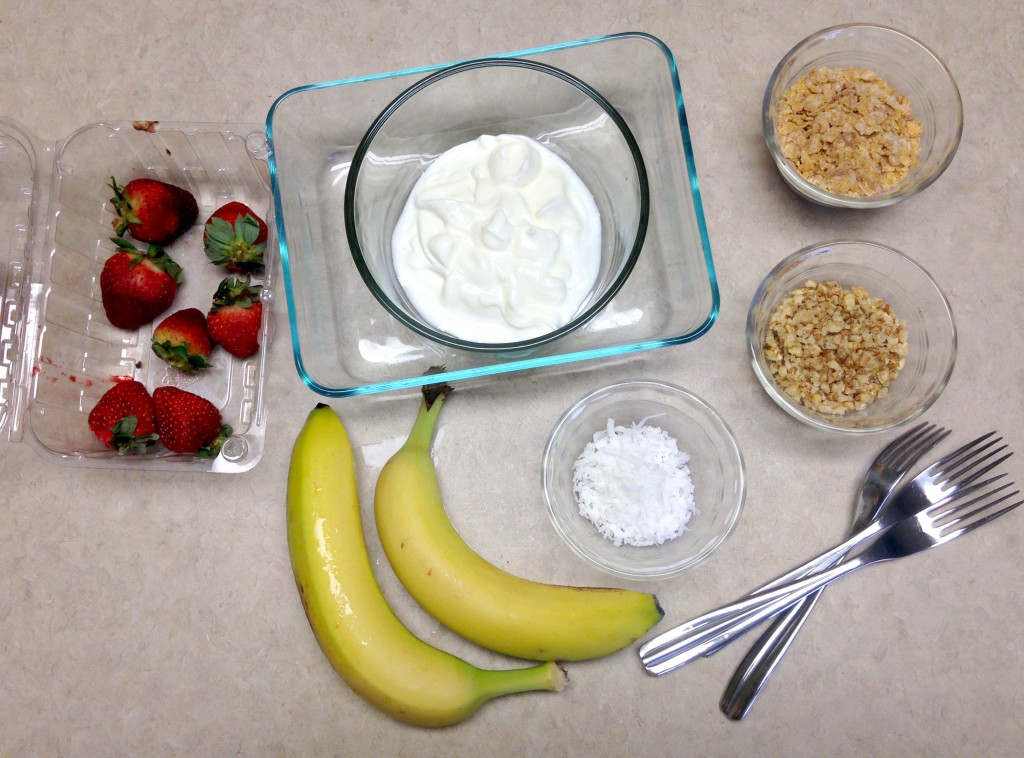
First gather your ingredients:
- fresh fruit (blueberries, bananas and strawberries)
- toppings (corn flakes, cereal, nuts)
- yogurt
- dipping bowls
- ziploc bags
- a nut crusher (if you have one)
- forks or toothpicks (for dipping)
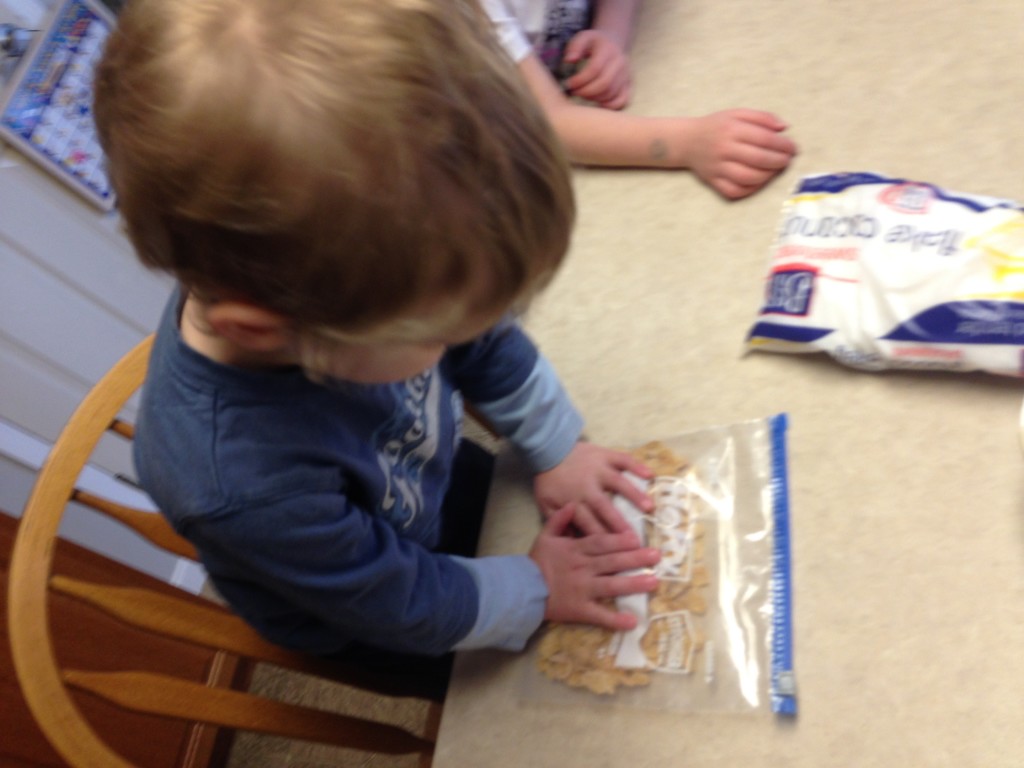
Starting by putting the cereal in a ziploc bag. Seal it and let your toddler go to town crushing it by hand or with a rolling pin.
Next, have your preschooler or older child put some nuts in the nut crusher. Do you have one of these? This was always my job when I made cookies with my mom. I still have the old antique crusher I used with her!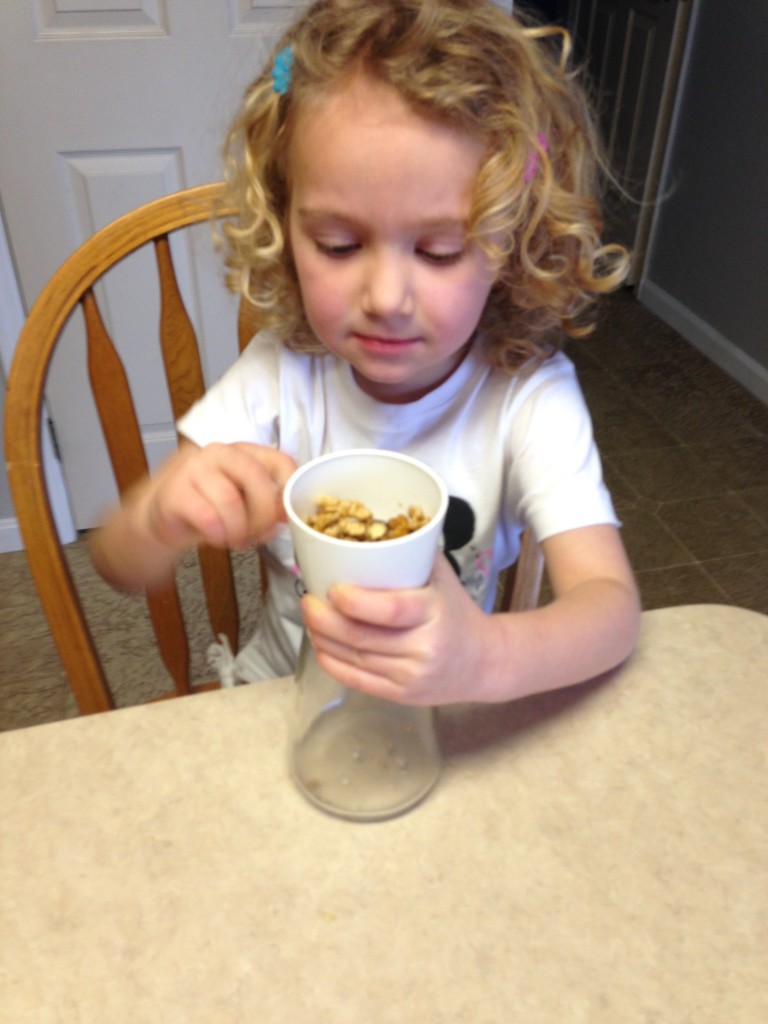
Now you are ready to start dipping. As you can tell in the next picture, I like to have everything ready and organized. It helps me eliminate chaos in the kitchen, and young kids needing to wait for me to find whatever we need next. Can you feel the excitement here? They are ready to start!!
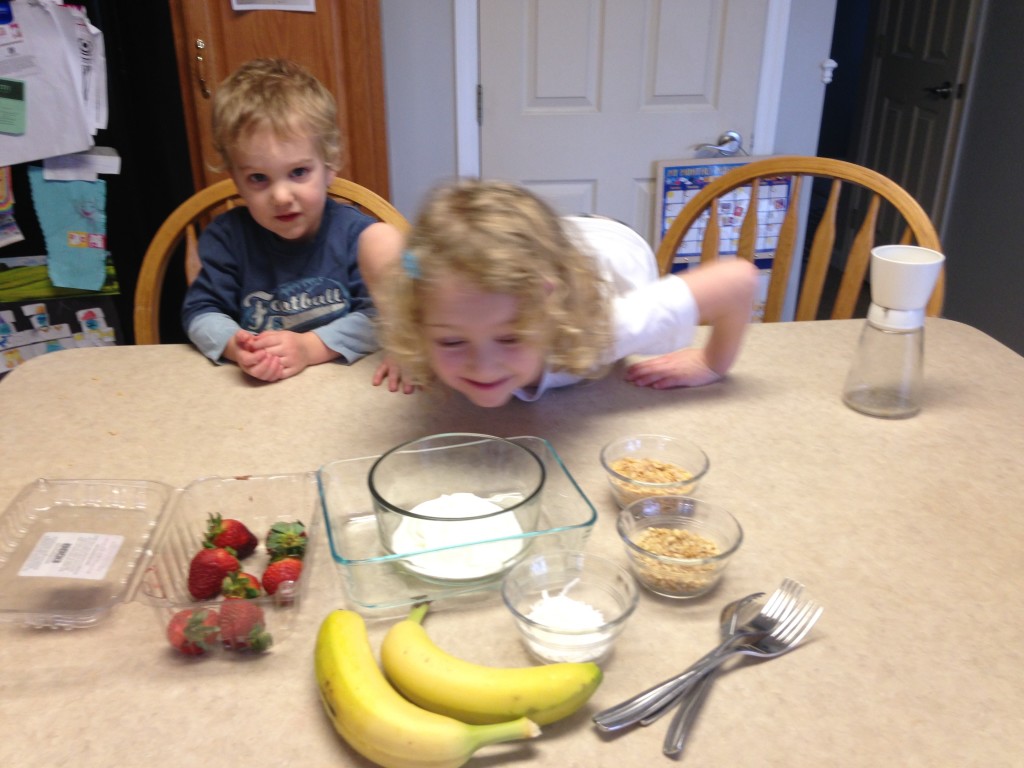
And we’re off! It worked well for us to use forks to poke the fruit. A toothpick might work well for you also, especially if you are doing blueberries.
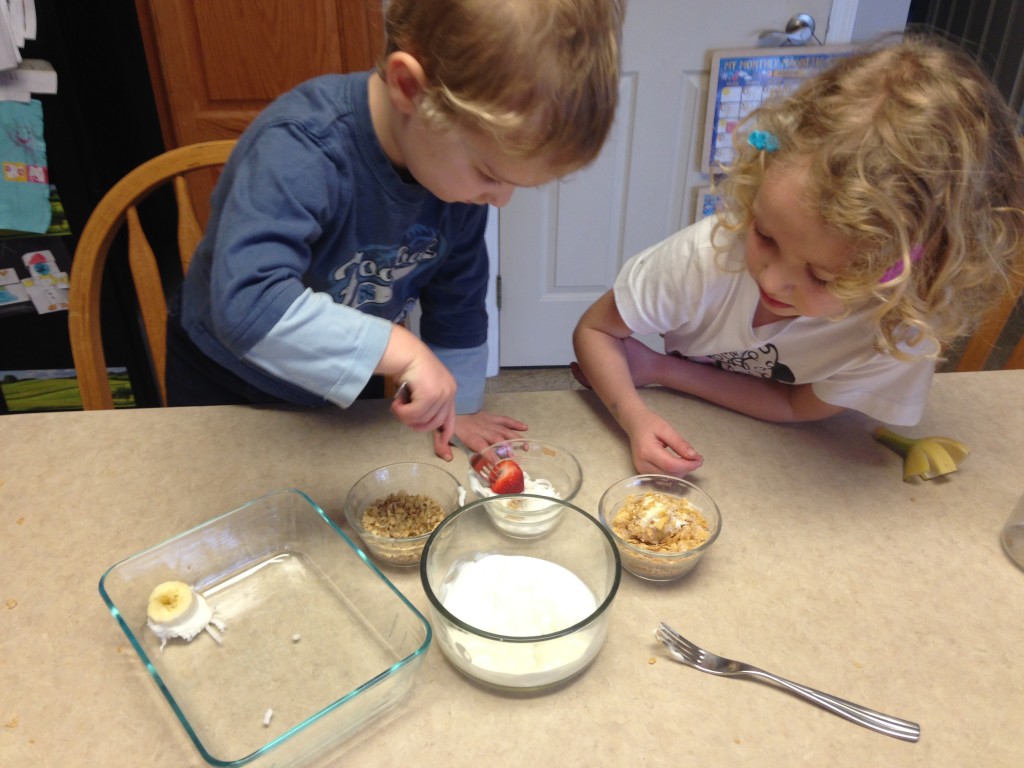
If you are a perfectionist, forget about the mess. You will very likely have yogurt all through your toppings. Its ok.
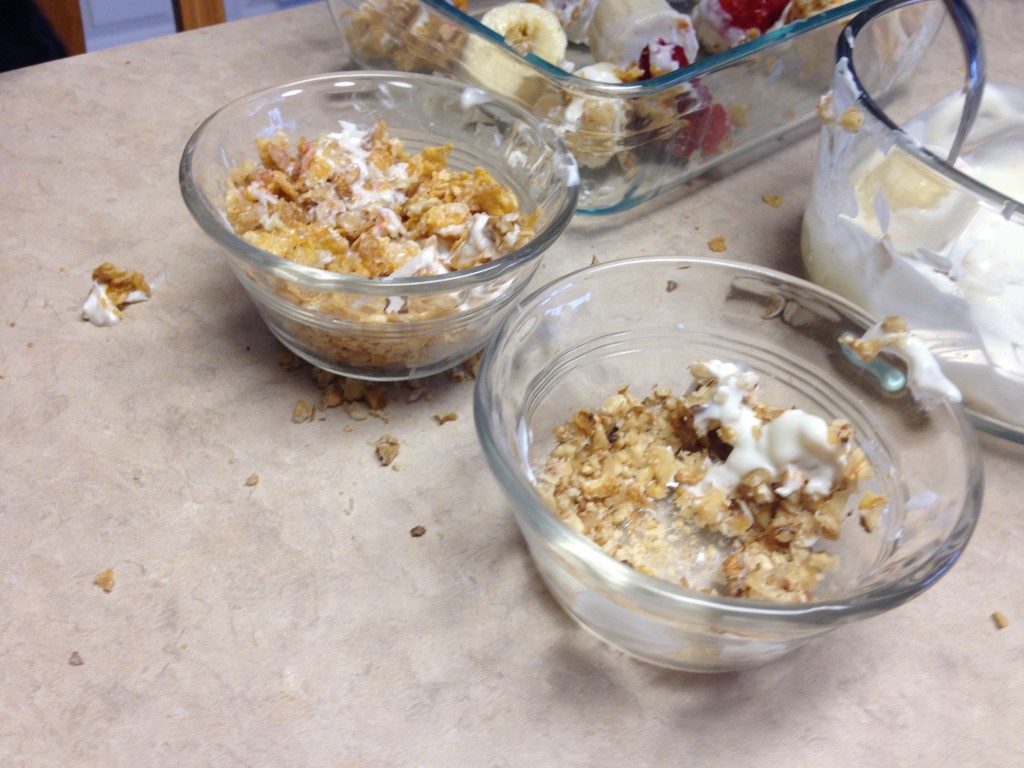
Put the fruit in a tray or dish that you can easily slide in your freezer.
Here’s a tip>> you can eat them at any time. The first ones we ate after they were in the freezer only about 1-2 hours. They were the best! They were frozen but not rock hard frozen. The second set we ate the next day, and they were so hard, they were difficult to eat.
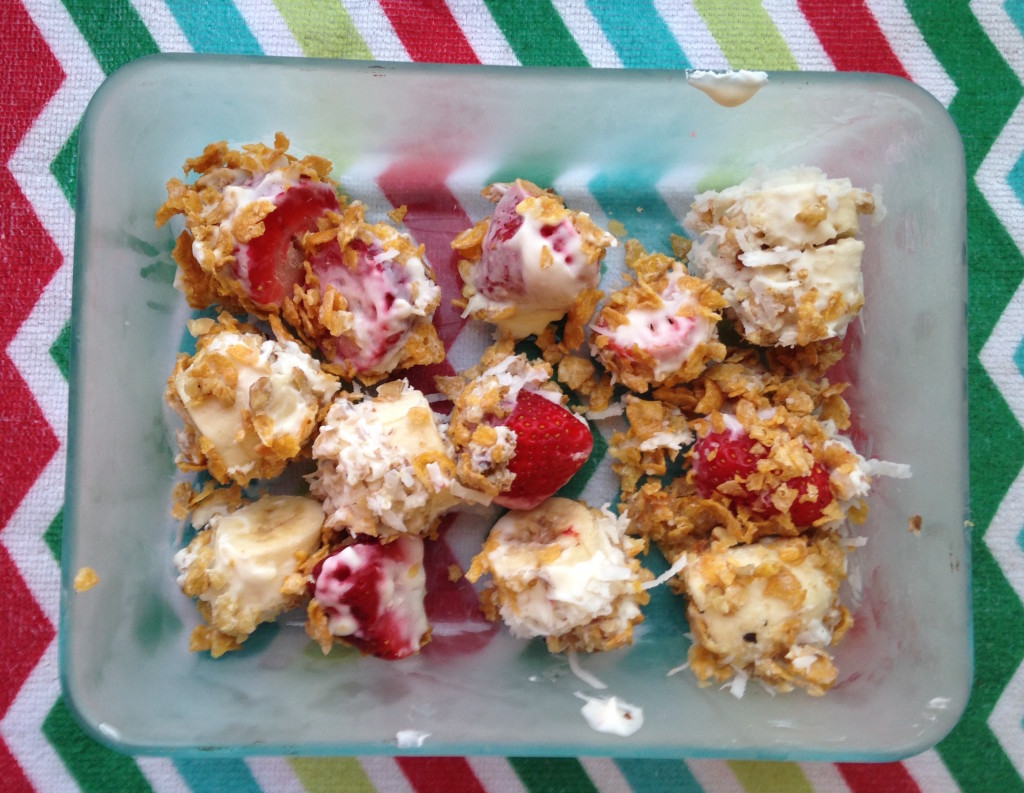
And the best part is – you can eat the mess! Less clean up for you!
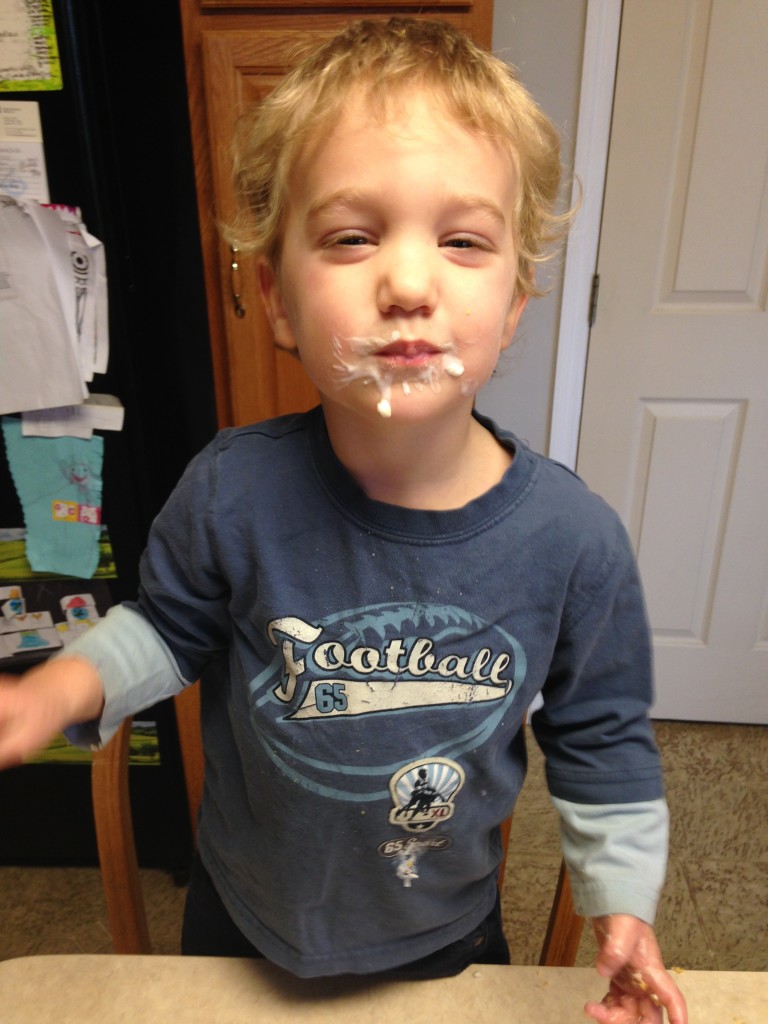
I would love to know how your frozen yogurt bites turn out. I think we will be enjoying this snack often this summer. It is easy, healthy and a simple activity to make. It’s frugal too! Especially since we started making our own yogurt! I can’t wait to share about that with you soon!
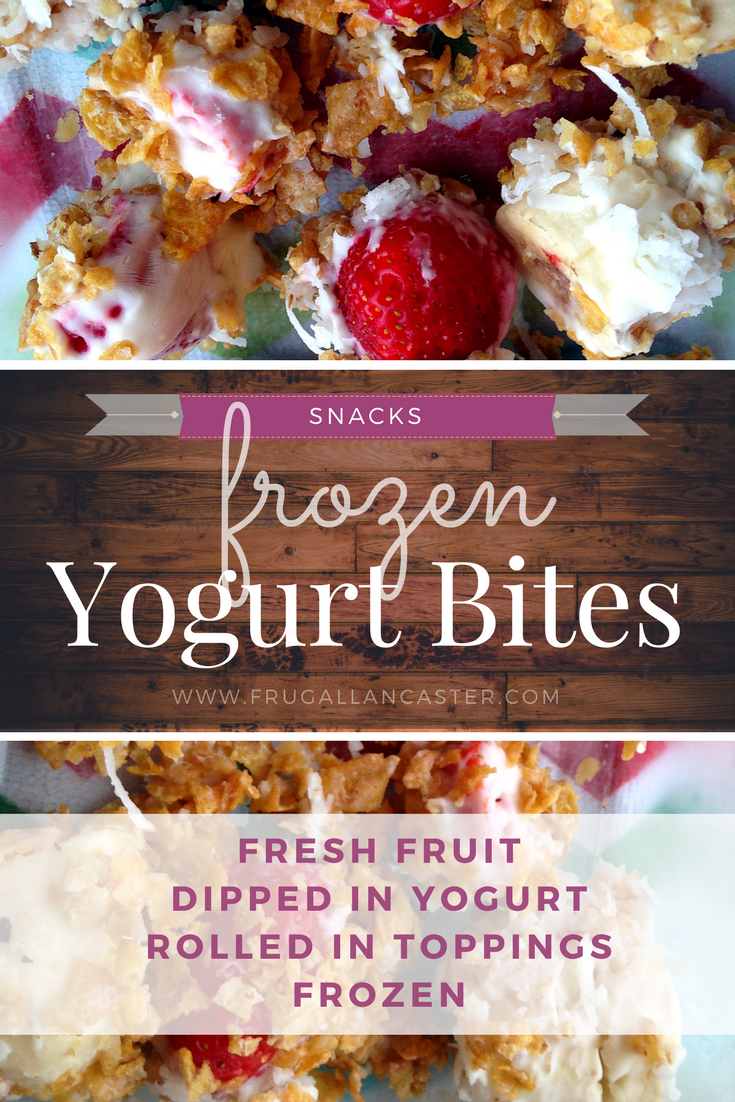
Ingredients
- fresh fruit (blueberries, bananas and strawberries)
- toppings (corn flakes, cereal, nuts)
- yogurt
- dipping bowls
- ziploc bags
- a nut crusher (if you have one)
- forks or toothpicks (for dipping)
Instructions
- Prepare the fresh fruit to be dipped.
- Put toppings in small bowls, and yogurt in another dish.
- Put corn flakes in a ziploc bag and run a rolling pin over it to crush the corn flakes.
- Crush nuts if they are not crushed already.
- Dip the fruit in yogurt and then in the toppings.
- Lay in a flat container or cookie sheet.
- Freeze for 1-2 hours (or longer).





Kandra says
What a great idea for a health snack and fun activity for young children! I definitely want to try this with my son when he is a toddler. I think the clean up time will be my favorite when we can just lick the bowls clean
Kathy says
Thanks Kandra! Another fun one to do with toddlers is energy bites: https://www.frugallancaster.com/2011/08/25/frugal-recipes-no-bake-energy-bites/
Elizabeth says
This looks great! Thank you!
Kathy says
You’re welcome! I definitely recommend eating them after they’ve been frozen only briefly – specifically for the strawberries that can get so hard after being frozen for awhile. Enjoy!