It is kind of like eating a mushroom. When you don’t know what kind to eat or not to eat, you just stay away from it completely. That is how I was with making yogurt.
If you think about it, you’re working with live cultures here. Bacteria! Growth. Ugh. Seriously! I don’t want my family to consume something that will hurt us.
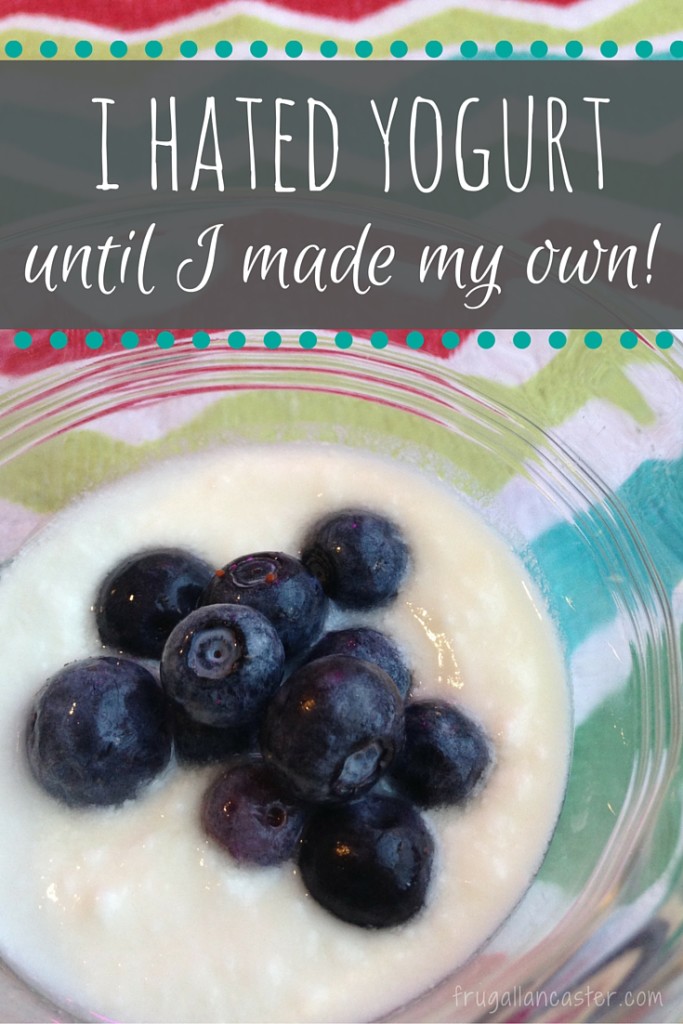
I Hated Yogurt, Until I Made My Own
I don’t know that I necessarily hated yogurt, but I didn’t crave it or appreciate it like I do now. I would eat it occasionally. I was intrigued by how some people made their own yogurt, since I knew the health benefits of probiotics. And I knew my kids loved yogurt.
I had also heard so many people tell me they save a lot of money by making their own yogurt. But quite simply, I was too scared to try it.
I finally conquered my fear after I discovered a way to use sous vide cooking.
What is sous vide?
If you don’t know what sous vide is, it is basically a method in which you cook your vacuum-sealed food at a constant low-temperature by using a water bath. We like to make steak, salmon, egg nog and yogurt using the sous vide method.
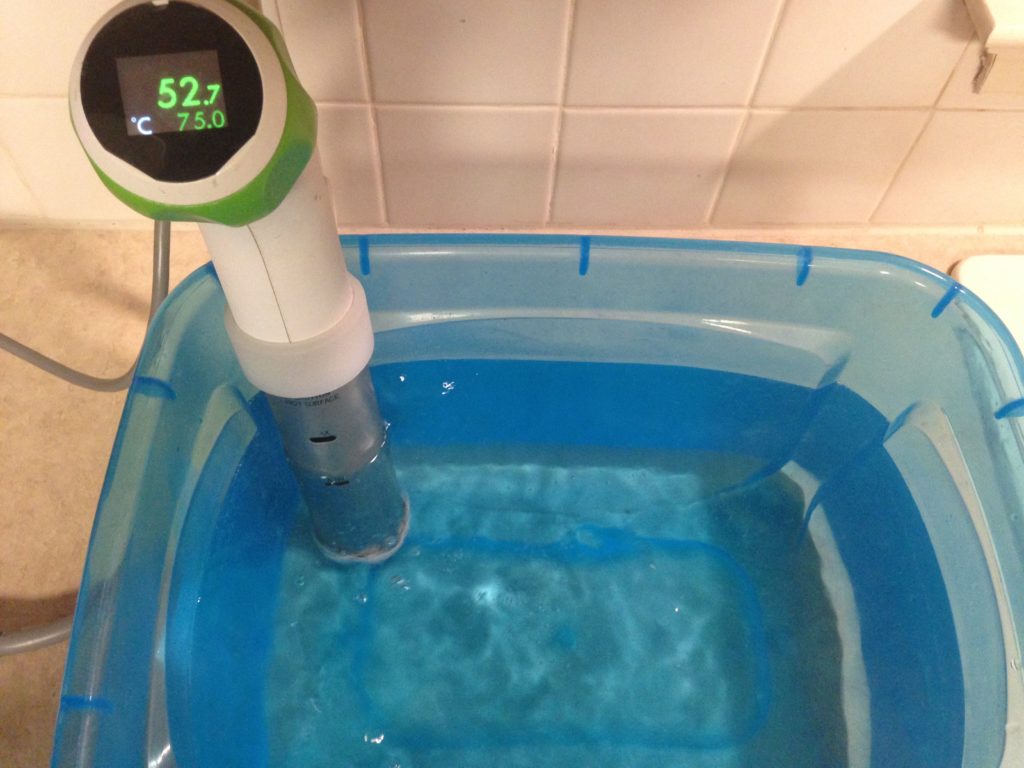
I thought about trying the crock pot method, because that looked more simple than using the oven. Knowing that I could use our nomiku (which is a lot like the Gourmia) to set the exact temperatures, alleviated so many of my concerns!
Simply put, the sous vide method completely regulates and controls the temperature, so it makes it almost impossible to make a mistake. I didn’t realize it the first time I made yogurt, but it is much easier than the oven or crock pot method, so I really had nothing to worry about.
I Really Was Scared
If you don’t believe me when I say how scared I was to try making my own yogurt – just ask my dear friend Lydia at ThriftyFrugalMom. The night I made my yogurt I messaged her about a dozen times, with questions like:
How will I know if it is edible?
Or if I failed?
Will it smell wrong?
Will it look different?
She was so patient with me, clearly explaining that the worst thing I can do is kill the yogurt culture if I happen get the temp wrong somewhere. But even then, it is still edible. It simply might taste more like a sweetened, thick milk than a tart yogurt.
So I Persevered
I found these sous vide yogurt making instructions and I followed them. I chose these instructions because they were simple, and for the most part, they made sense to me. Here is my simplified version of what to do.
Fill quart jars about 9/10 full with raw milk or whole milk.
Place in a 75C water bath for about 2 hours. You just want to make sure the milk was heated to 75C for at least one hour. We cover ours with plastic wrap to guarantee the temperature remains constant and the water doesn’t evaporate below the allowed level for the sous vide precision cooker.
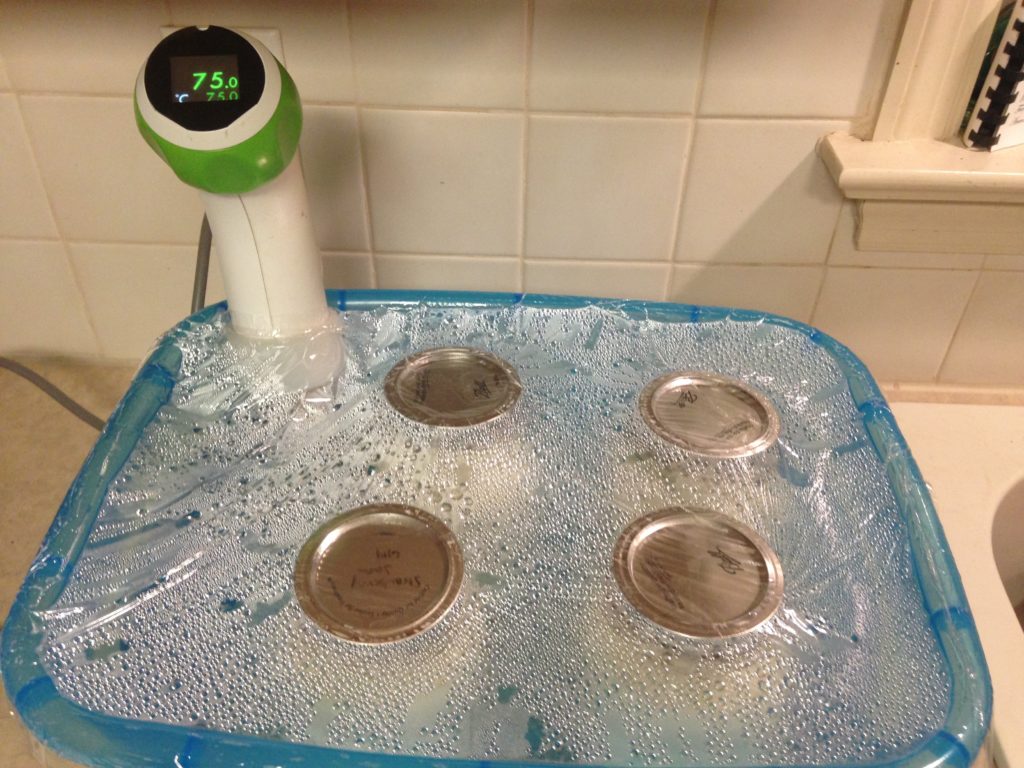
Cool the milk to 47.5C. To do this, we set the nomiku to 46C, scooped out the hot water and replaced with cold water. We also added some ice cubes (or ice packs) to the water. It took about 5-10 minutes to get the temperature down to 46C. I checked the yogurt with a thermometer, and it said about 117F. As long as its less than 120F, you should be good!
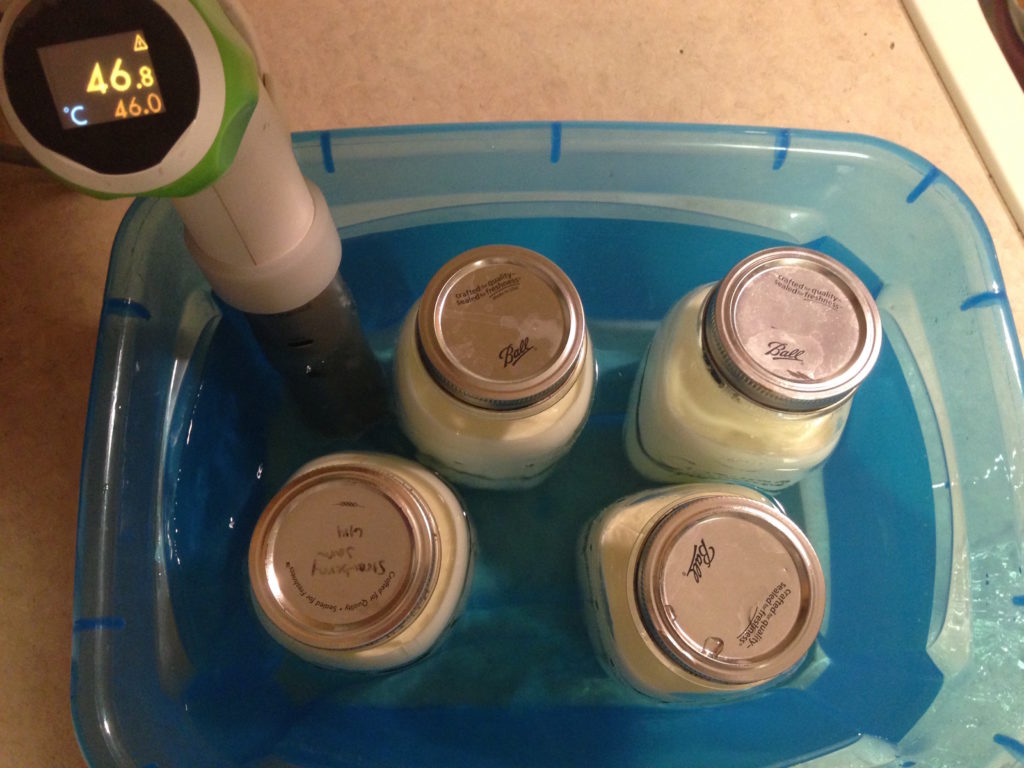
Time to inoculate (that just means stir 1 Tbsp of plain yogurt with cultures into each jar). Check the labels to make sure there are live cultures. Honestly, this was the one of the scariest parts for me. I just wanted someone to tell me what kind of yogurt to buy! I didn’t want to mess it up. So I will tell you. I bought Pequea Valley Farm Yogurt from Glennwood Food Stores in Hinkletown.
If you want to add flavorings, now is the time to add it. Lydia told me she adds 2 tbsp. vanilla and 1 c. sugar to 1 gallon of milk. I only wanted to try one jar with flavorings, so I added 1.5 tsp vanilla and 1/4 cup sugar to one of the quart jars.
Set the temperature bath to 47.5C, and let the jars in the water bath for 12-24 hours. The longer it is in the bath, the more sourness and greek-like texture. We cover the tub with plastic wrap and set a towel on top of it for overnight, just to make sure the temperature stays consistent and the water doesn’t evaporate below the allowed level for the sous vide precision cooker.
The instructions now say to put in an ice bath. Lydia agreed with me that you probably don’t need to do that. I put mine directly in the fridge and we had no problems. They will seal automatically and last up to 4-6 weeks.
I Made Yogurt!
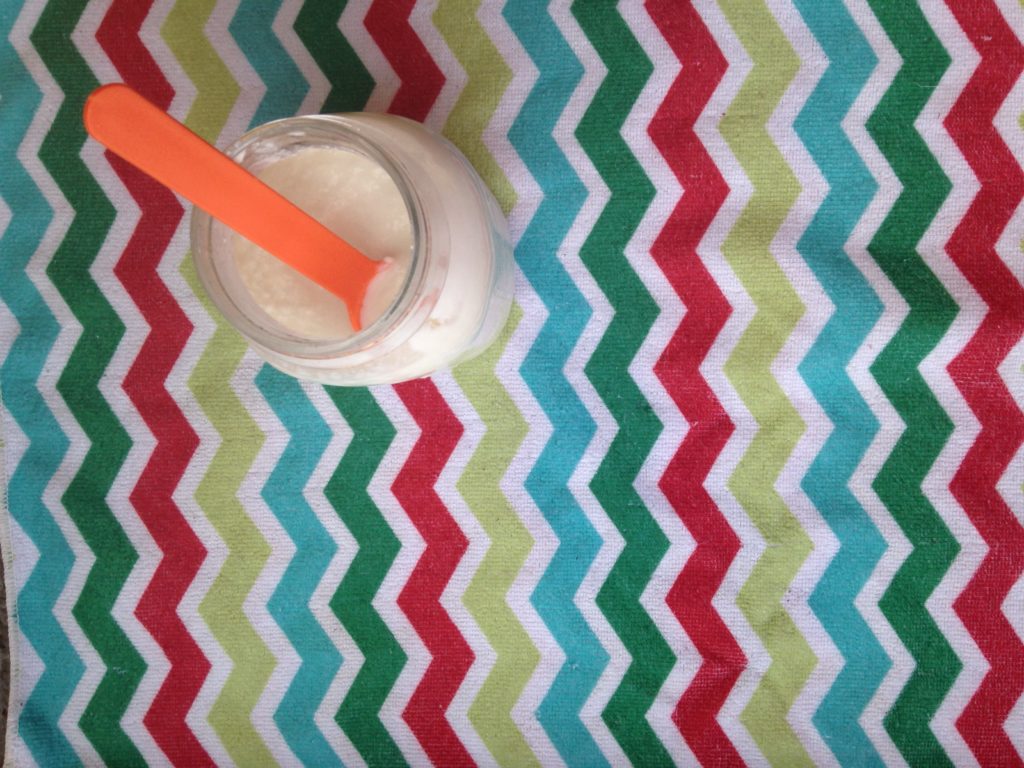
When I first took the jars out of the water bath, the yogurt was very thin and runny. I was nervous. I figured I wasted all that milk and time. I put them in the fridge, and then when we went to eat the first one, it was thicker!
And the taste. Well let me just tell you. It was delicious. You absolutely must try it for yourself! I was completely and utterly shocked. I could not believe how incredible it tasted. There were no words to describe.
I didn’t even think I needed fruit or granola with it, but we ate it fruit and granola anyway!





Nomiku says
Love this!! Thank you for sharing this recipe!
Kathy says
We love our Nomiku!! You need to make it available for sale on Amazon again. I hope to post other recipes soon for our salmon and steak. And of course, my husband’s favorite, egg nog.
Bill Bumgarner says
Neat! As the author of the weblog post you found, it makes me really happy to see others having he success I’ve had with the recipe! I’ve been using it for a few years now and my family really can’t stand store bought yogurts anymore. They are way too sweet!
You’re right that the ice bath isn’t necessary. But it is still probably a good idea to at least shed some of the heat before sticking it in the fridge. The health department would tell you that shoving hot things directly in the fridge will render everything in the fridge poisonous. Certainly, An exceptionally defensive claim, but it is going to make the fridge work extra hard to shed that heat.
Also; I’ve had a lot of success varying by the incubation time to change consistency and flavor. Temperature impacts this, too. I’ll often do half a batch for 14 hours and the other half at 20 to have half mile and half sour.
A combination of goats milk and cows milk makes for a nice product, too. And any of the liquid leftover is a fantastic addition to bread and pizza dough.
Mix in frozen berries in a bowl and it’ll freeze the yogurt a bit. Super healthy frozen yogurt.
Kathy says
Wow, thanks for the advice – from the expert! I appreciate your feedback. I am eager to try the mix of goat milk with cow milk!! Also, sometimes I want mine even thicker, just because. Or if I’m using it as a dip. Is there anything you have tried to thicken it up? I think I’ve heard of some people adding gelatin.
Bill Bumgarner says
Expert? Hah! I know not what I’m doing, but I’m not afraid to try.
Yeah– a gelatin agent or the like will definitely thicken. I’ve been thinking maybe a touch of flour might work because that’s what I use to help thicken pie filling.
The incubation time and temperature really does impact the texture a lot, too. Of course, the more time at a closer to ideal incubation temperature and you’ll end up with very very very sour yogurt. Thick! But super sour.
The fat content of the milk makes a huge difference, too. One of the creamiest yogurts I’ve made was one with a ton of heavy cream mixed in with the 2% milk.
I keep meaning to go all scientific on this; start with, say, 6 jars ranging in ratio of whole milk vs. 1% milk. Or do another batch of 6 jars, taking a jar out every two hours starting at the 12 hour mark. … etc…
But, alas, time is not on my side and what I’ve got is good enough.
Erica Stauffer says
Kathy, if you strain the whey off of the yogurt it is super thick greek like yogurt. You can use cheese cloth.
Kathy says
Thanks so much Erica! I will give that a try!!!
Lydia says
Love that you faced your fears and went ahead and made yogurt! It’s one of those things that once you try it you realize how easy (and delicious!) it is and it’s hard to not want to just always make your own.
Your Nomiku gadget intrigued me. I never heard of it before! Definitely would make it easier to get an even temp for sure!